
Beeswax candles are a natural and eco-friendly candle that has been adored for generations. Not only are they non-toxic and hypoallergenic, but they also have a longer burn time and release negative ions when burned, which can help purify the air in your home.
Making your own beeswax candles at home is a fun and easy DIY project that is perfect for both beginners and experienced candle makers. This guide will walk you through the steps of making your own beeswax candles, including tips and tricks for achieving the perfect candle every time.
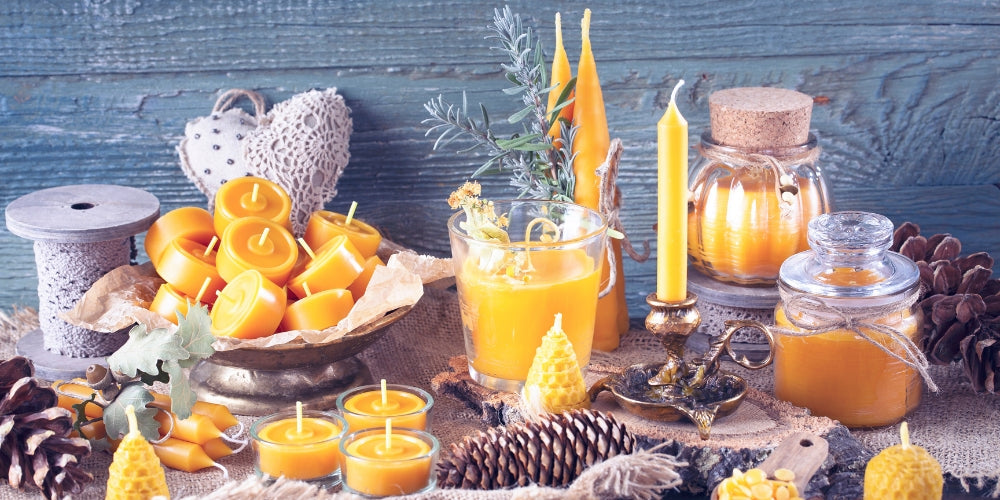
Materials Needed
- Beeswax
- Wicks
- Wax dye (optional)
- Fragrance oil (optional)
- Double boiler or crock pot
- Thermometer
- Pouring pitcher or ladle
- Candle molds or jars
- Wooden skewer or chopstick
- Sticky circles
Step 1: Melt the Beeswax
The first step in making beeswax candles is to melt the beeswax. You can do this using a double boiler or a crock pot. If using a double boiler, fill the bottom pot with water and bring it to a light simmer. Place the beeswax in the top pot and stir until it is fully melted. If using a crock pot, place the beeswax in the pot and set it to low heat. Stir the beeswax occasionally until it is fully melted. Never heat wax above 170ºf degrees.
Step 2: Add Wax Dye and Fragrance Oil (Optional)
If you want to add color or fragrance to your candles, this is the time to do it. To add dye, use a wax dye block or a small amount of liquid wax dye. Start with a small amount and add more as needed until you achieve the desired color. To add fragrance, use a fragrance oil specifically formulated for candle making. Start with a small amount and add more as needed until you achieve the desired scent.
Step 3: Prepare the Wicks
While the beeswax is melting, prepare the wicks. Trim the wicks to the appropriate length for your candle molds or jars. If using candle molds, thread the wicks through the center of the mold and secure them in place with a small amount of melted beeswax. If using jars, tie the wicks to a wooden skewer or chopstick and place the skewer or chopstick across the top of the jar, making sure the wick is centered and secured to the bottom using sticky circles.
Step 4: Pour the Wax
Once the beeswax is fully melted and any dye or fragrance has been added, it's time to pour the wax into the candle molds or jars. Use a pouring pitcher or ladle to carefully pour the wax into the molds or jars, making sure to fill them to the desired level. If using candle molds, tap the sides gently to release any air bubbles. If using jars, use a wooden skewer or chopstick to pop any air bubbles that may rise to the surface.
Step 5: Allow the Candles to Cool and Set
After pouring the wax, allow the candles to cool and set. This can take several hours, depending on the size of your candles. Once the candles are fully set, they can be removed from the molds or jars and are ready to use.
Step 6: Trim the Wicks
Before lighting your candles, be sure to trim the wicks to ¼ inch. This will help prevent the candle from smoking and will ensure a clean and even burn.
Tips for Making the Perfect Beeswax Candle
- Use high-quality beeswax for the best results. Pure beeswax candles have a naturally sweet honey scent and a warm, golden color.
- To achieve a smooth and even burn, it's important to use the correct wick size for your candle. A general rule of thumb is to use a wick that is 1/8 inch in diameter for every inch of candle diameter.
- To prevent pot holes, make sure to pour the wax at the correct temperature. The ideal pouring temperature for beeswax is between 145-150°F.
- If you want to make the candles more elegant, you can add a label to the candle with the name of the fragrance and the date of creation.
Conclusion
With a little patience, you can create beautiful and high-quality beeswax candles that are sure to impress. Beeswax candles are natural and eco-friendly, making them perfect for those who want to create an ambiance and purify the air in their home.